As a SharePoint consultant, I work with hundreds of small to medium-sized businesses, assisting them with the transition to SharePoint Online and Microsoft 365. When they initially establish contact with me, they might share some basic business requirements, most of which are not an issue. However, once in a while, as I read through or we discuss requirements, I see or hear the following: “Our CEO wants to ensure that SharePoint will not look like SharePoint” WHAT??? 😕 In case you encounter the same sentiment in your organization, let me explain why this requirement does not make sense and should be removed from the list.
It never made sense to brand SharePoint
The first time I blogged about the topic was back in 2016. You can check this post here. This was back when we still had SharePoint classic, and SharePoint did not look like SharePoint today. This was also before Teams and many other applications we now have available within Microsoft 365. In that 2016 post, I did provide a few legitimate reasons why heavily branding SharePoint did not make much sense. I will be reiterating some of those reasons in this article as well.
Modern SharePoint is already beautiful!
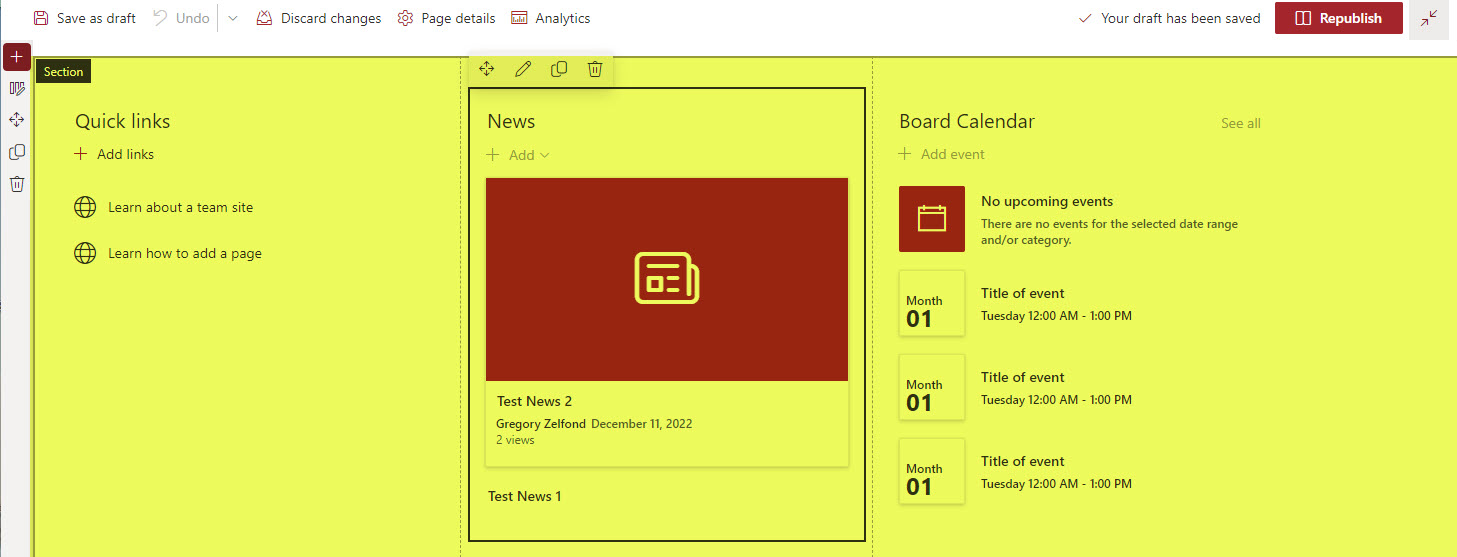
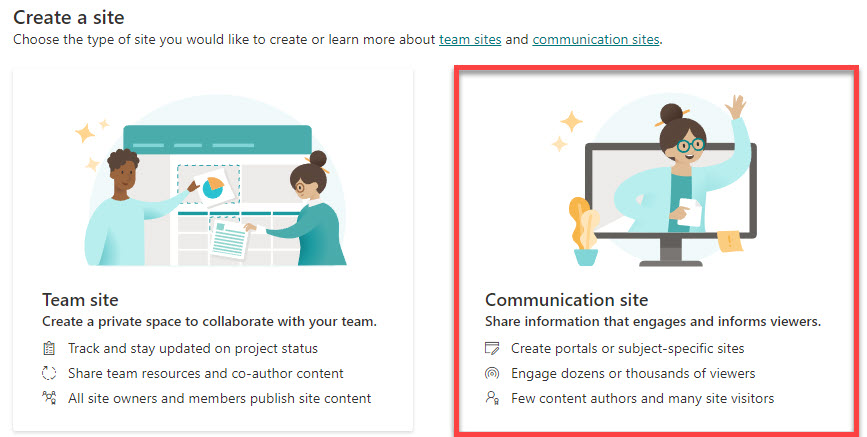
Fast forward six years from that old post of mine, and modern SharePoint is nothing like it used to be. It is almost like two different applications. We now have a set of new site types (Team Site and Communication Site), built-in site templates to make your sites pretty, + a number of options to change the look and feel of your SharePoint sites (you can tweak navigation, headers, logos, apply built-in and custom themes, etc.).
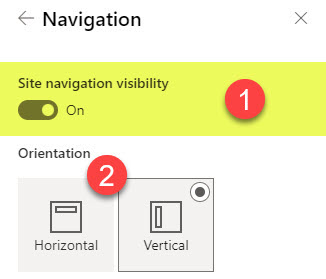
Example of the ability to adjust the SharePoint navigation experience
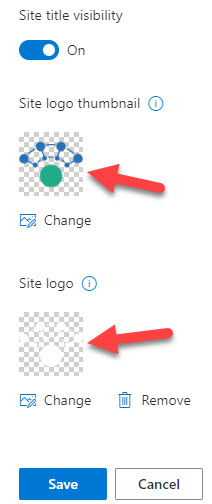
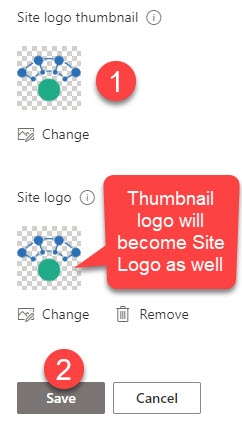
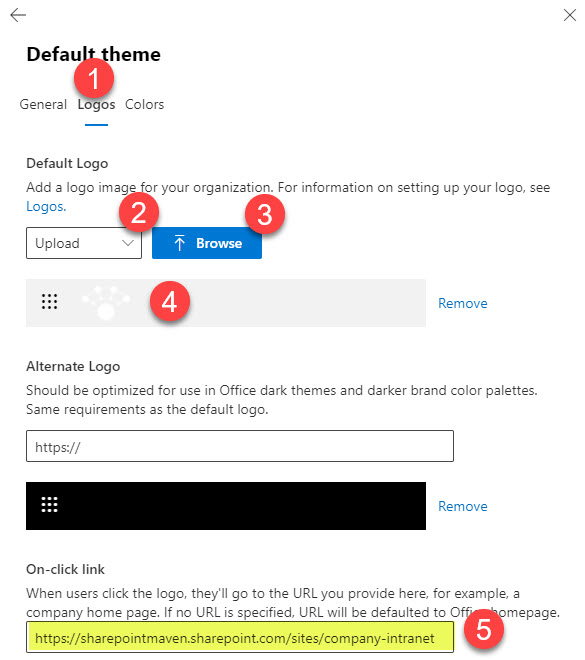
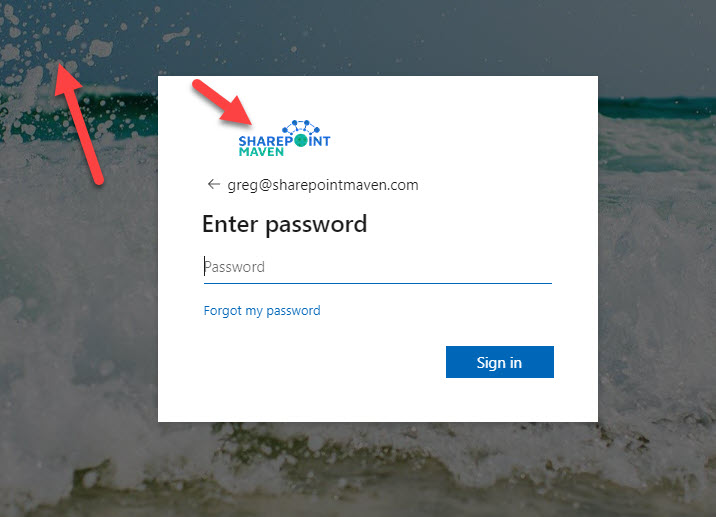
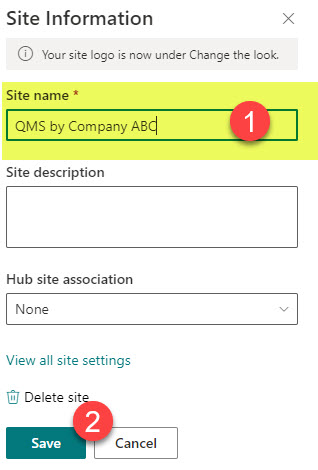
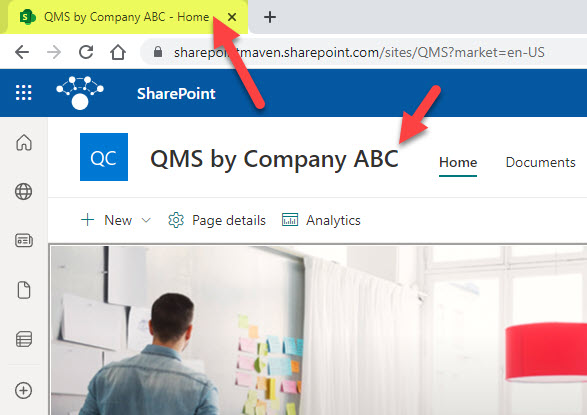
Example of the ability to adjust SharePoint site logo
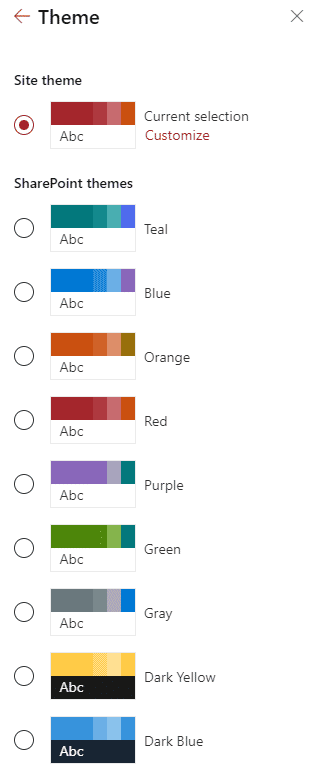
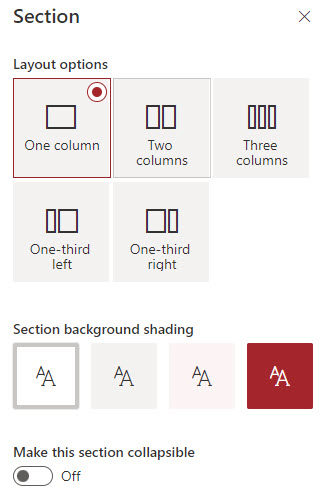
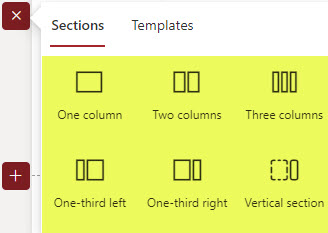
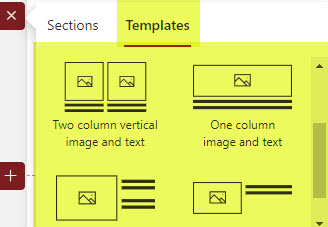
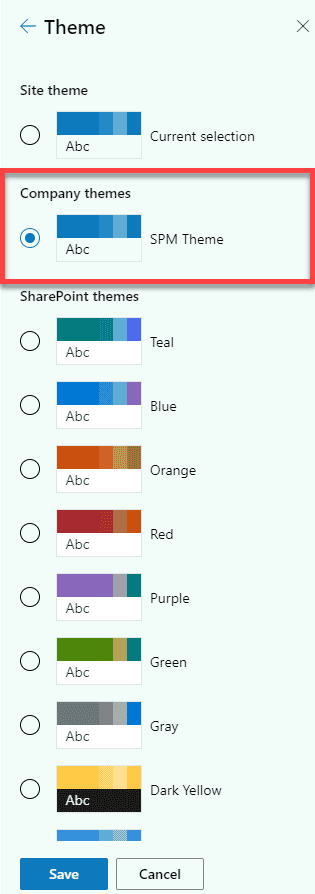
Examples of various themes/color palettes available in SharePoint out of the box
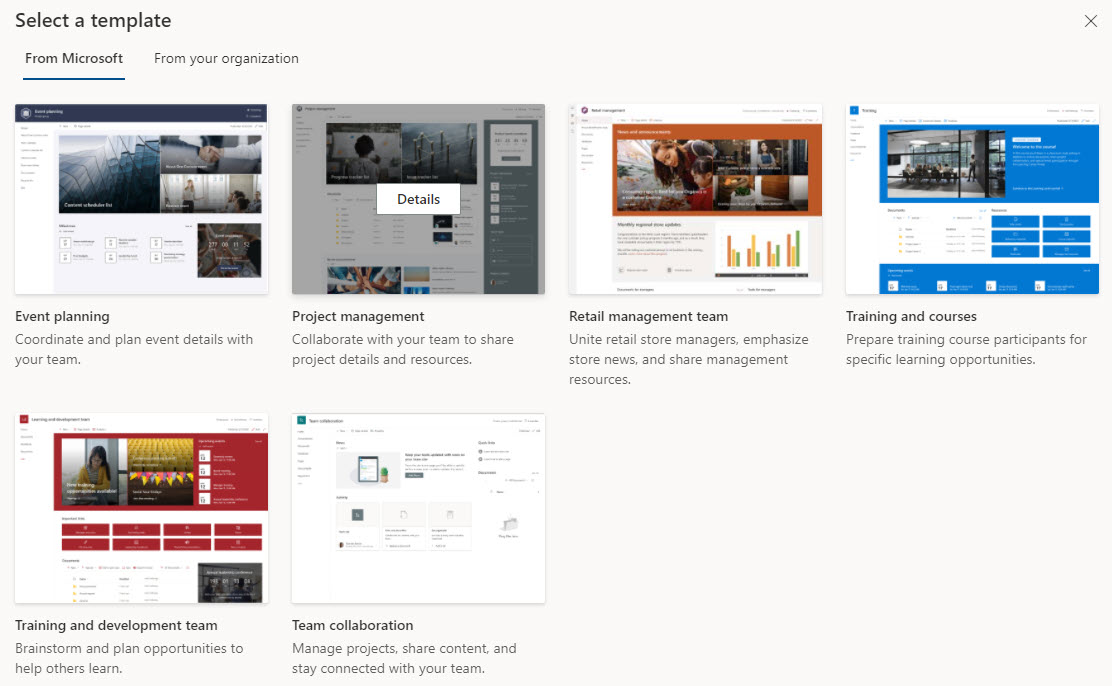
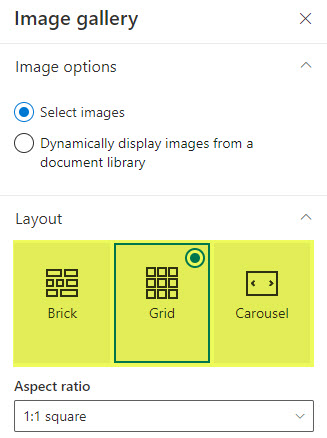
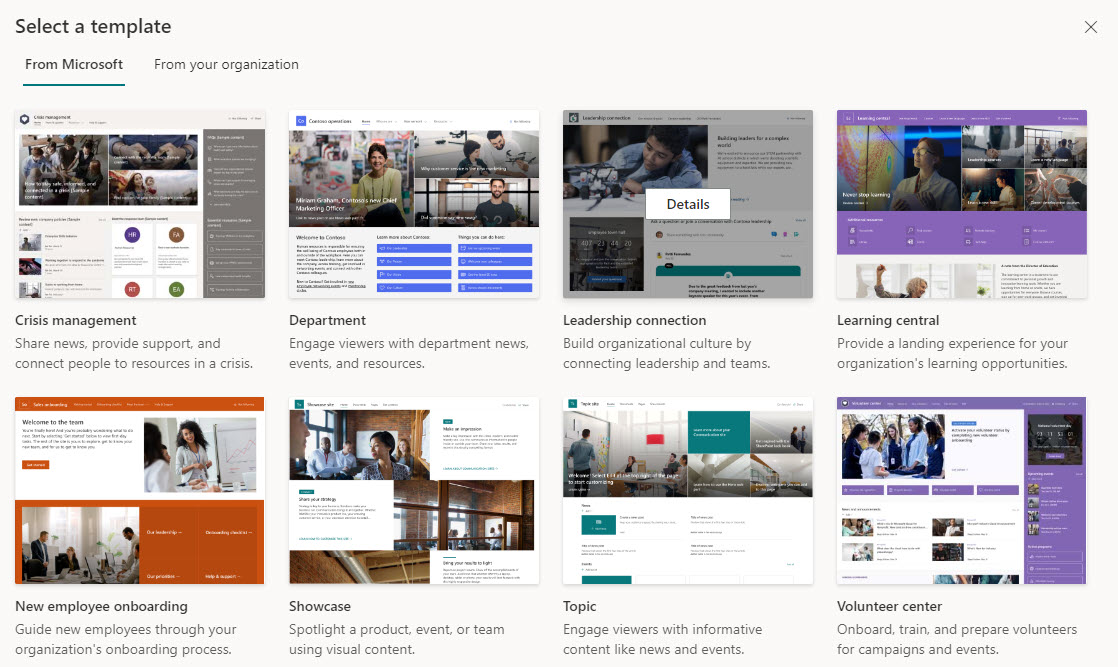
Built-in SharePoint Site Templates
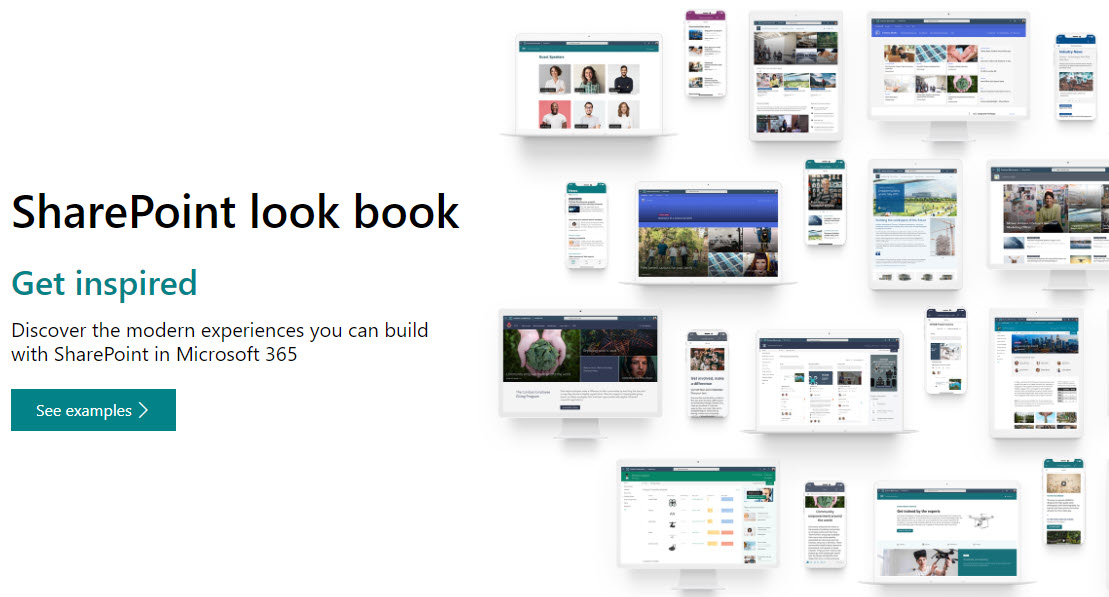
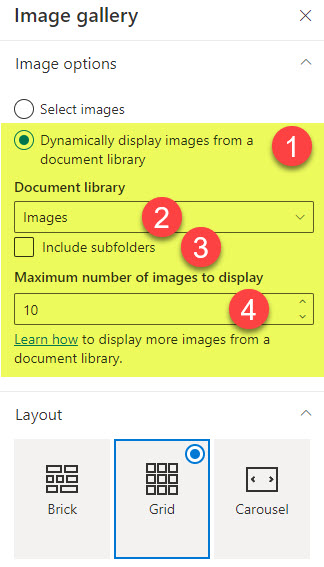
Additional site templates available in SharePoint Lookbook
I think that most people who ask for SharePoint not to look like SharePoint simply are not aware of what modern SharePoint looks like and might have a bad taste in their mouth from their previous experience with classic SharePoint. As such, I recommend doing a SharePoint demo first to explain what modern SharePoint is all about, how it looks, and so on.
SharePoint Branding options
If you want to apply custom branding to SharePoint, you have several options available out of the box. I recently wrote a post that outlines all the available options.
The abovementioned techniques will help you make SharePoint prettier without hiring custom developers and designers.
Impact of trying to make SharePoint not look like SharePoint
If you have been following my posts for a while, you know that I am a huge advocate of an Out of the Box approach regarding SharePoint configuration and development. Most of the reasons that would apply to my OOTB business philosophy also apply to this article. I already listed a few back in that 2016 post. However, due to so many changes that have happened over the years, I would like to repeat them here again + add a few new ones to help get my point across on why you should stop making SharePoint not look like SharePoint.
1. Cost
This is an obvious one. Be ready to spend significant money if you want to deviate from the OOTB SharePoint design. You need to hire a designer and a developer or purchase third-party themes. No matter which route you take, it will cost you additional money on top of the Microsoft 365 licenses you already pay for.
2. Timeline
Another obvious factor missed by many. Your implementation timeline will be significantly longer when you engage in custom designs and themes. With OOTB SharePoint, you just configure the sites/pages and are ready to go live. With custom themes and development, you would need to spend extra time on the implementation, plus testing, to make sure custom coding/theme did not come into conflict with other features/customizations you might have.
3. Flat Information Architecture
When Microsoft modernized SharePoint back in 2017, the most significant change besides look and feel was the introduction of flat architecture. Instead of subsites, we now have modern sites and use Hubs to connect them all together. That change also made custom branding harder to implement. In the old days, you would create a custom theme/design, apply it to the site collection, and that theme would apply/propagate to all the subsites underneath. In the modern world, we do not use subsites anymore. We have sites that are independent of one another. So that means applying branding custom theme/design to one site does not propagate to another site. So that means it is unlikely you will have all your sites branded the same way in your tenant.
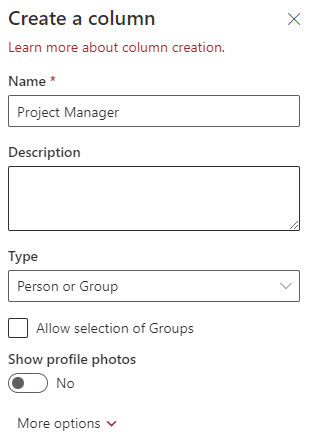
4. Lack of Additional Expertise
The other thing you need to worry about is the fact that you would need to maintain SMEs on staff who are familiar with the custom theme you purchased/acquired. And if you venture into custom development – you are going to be “married” to that developer for the whole time. So that means extra spending for every little change you want to make, not to mention you would need to assure the staff/IT you hire would have the ability to customize/get familiar with custom changes you made.
5. Teams Impact
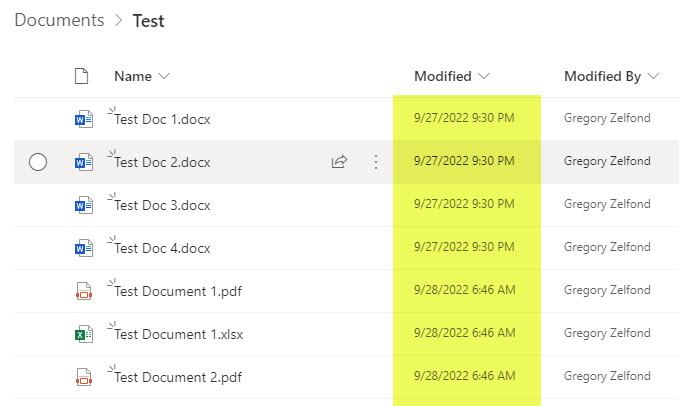
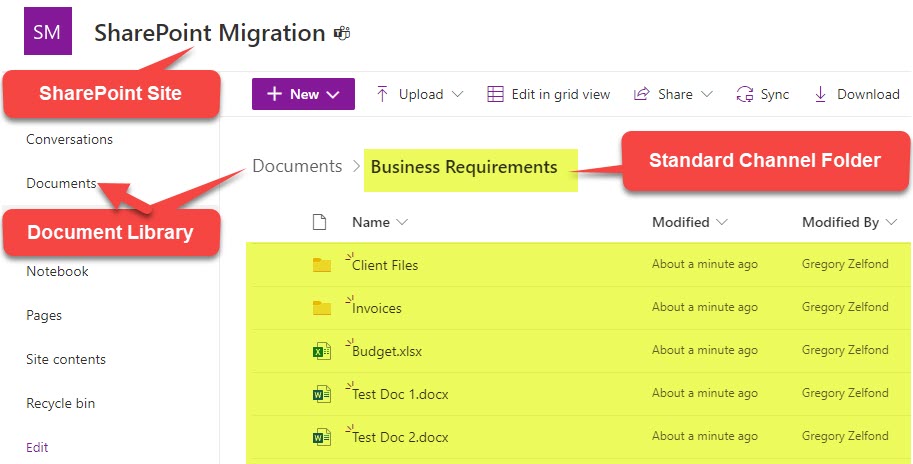
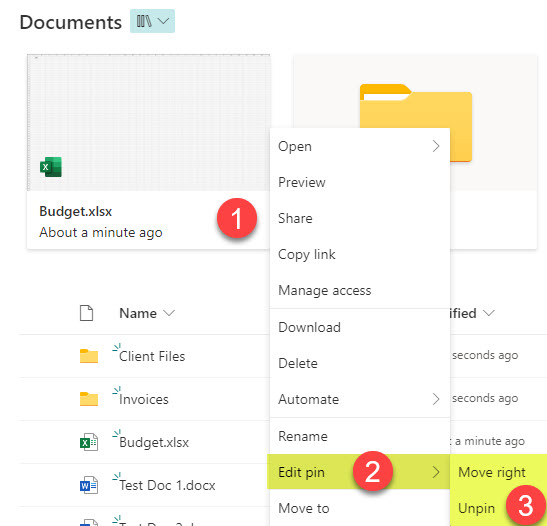
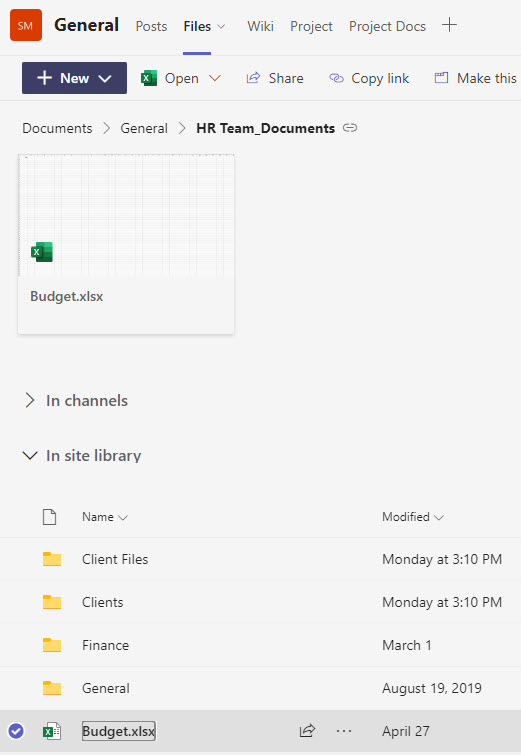
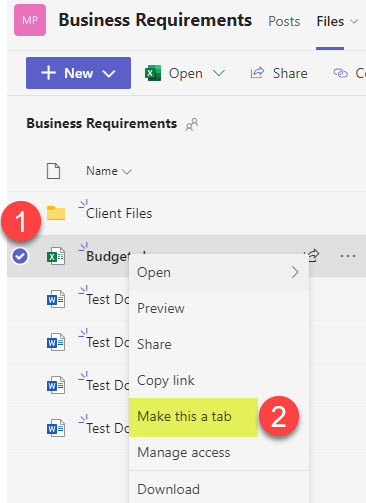
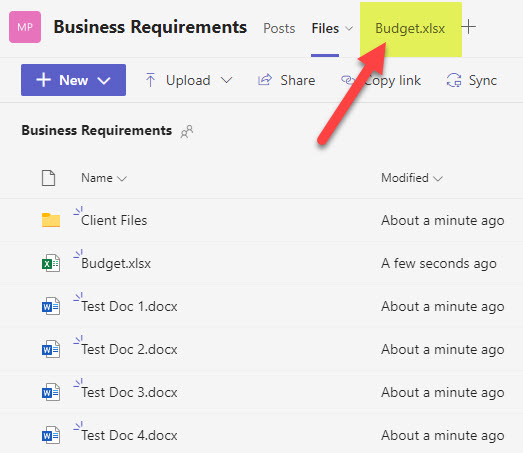
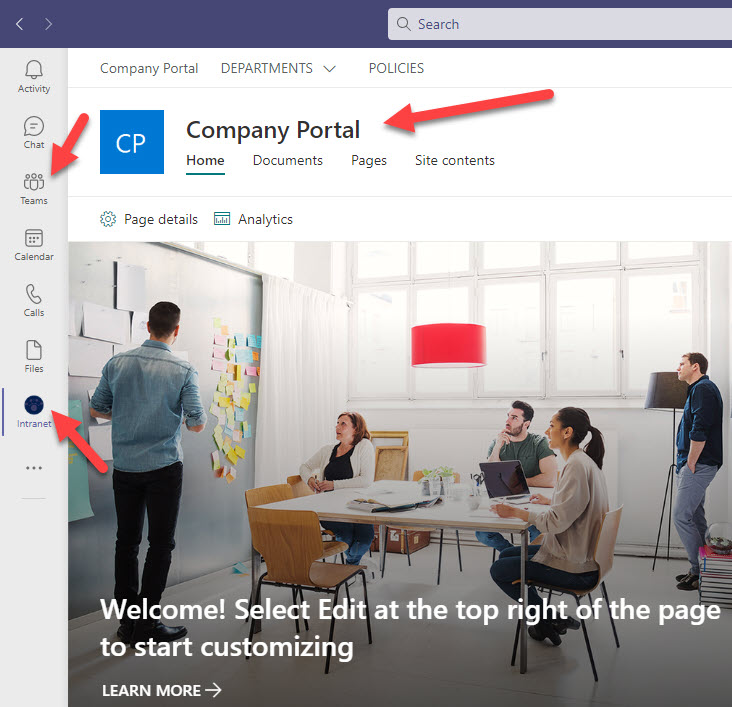
With the introduction of Teams in 2017, we now have a completely new way of how users collaborate. In the past, users navigated SharePoint sites and used Outlook for email communications. Nowadays, everyone lives in the Teams application, accessing SharePoint using the teams interface. So they no longer navigate the SharePoint sites, but rather access files using the File tab in a given Teams channel. And Teams does not allow for any custom branding. On top of that, whatever you brand your SharePoint site does not really matter, because users won’t even see it when they click on the Files Tab.
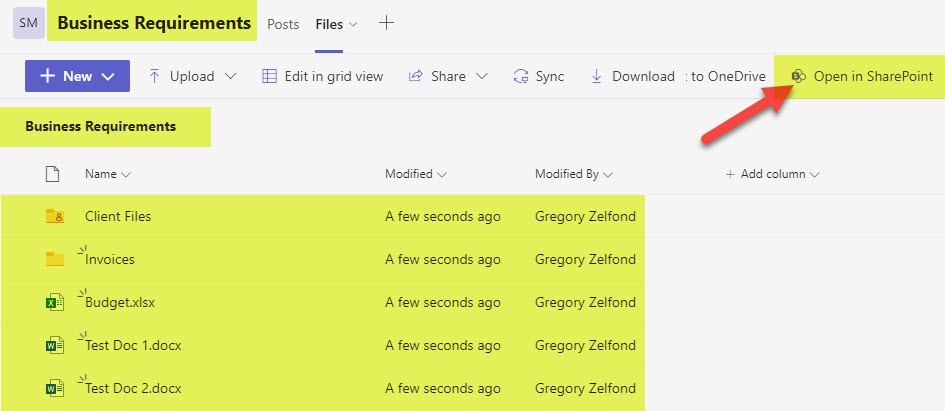
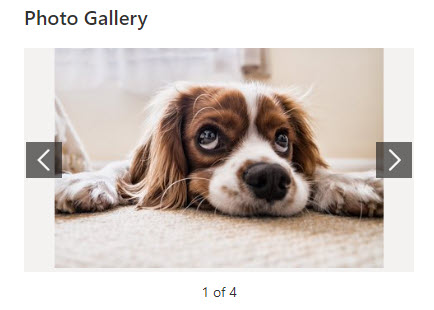
Example of the Files Tab in Teams which shows the contents of a SharePoint Document Library folder
The only impact of custom branding you might get is if you set up Viva Connections which will allow embedding of your Intranet into the Teams App.
Viva Connections (embedding of SharePoint Intranet into Teams Application)
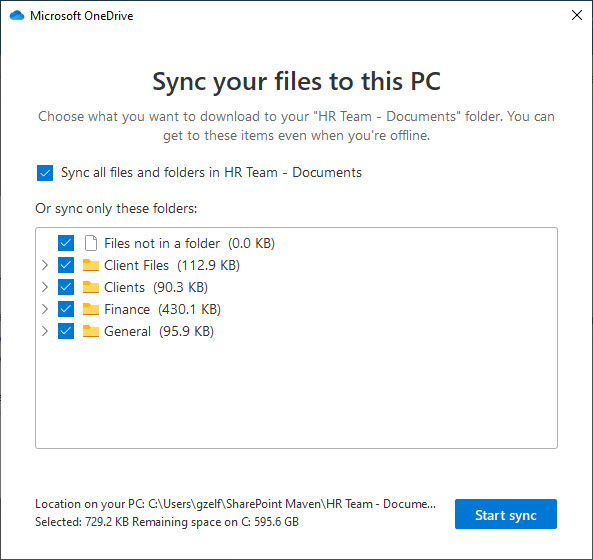
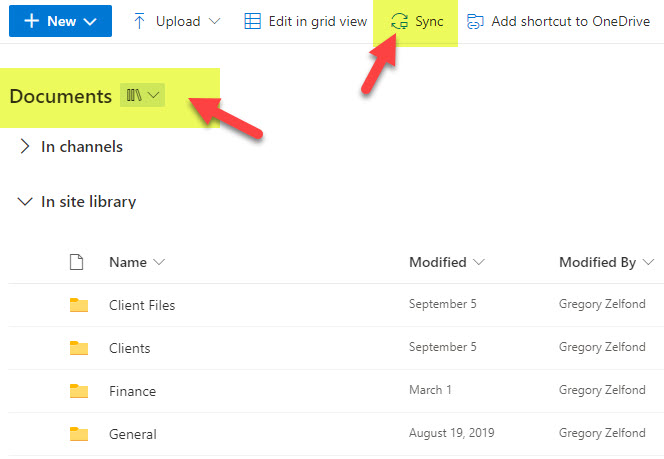
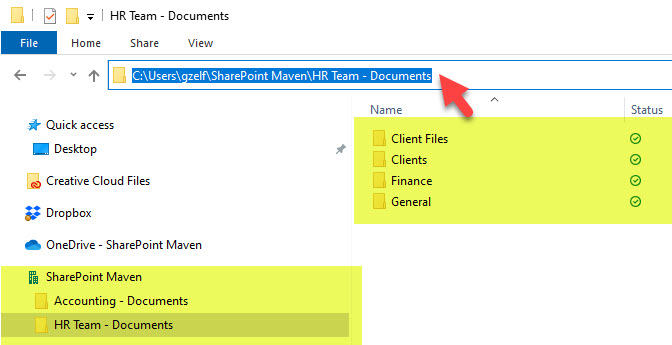
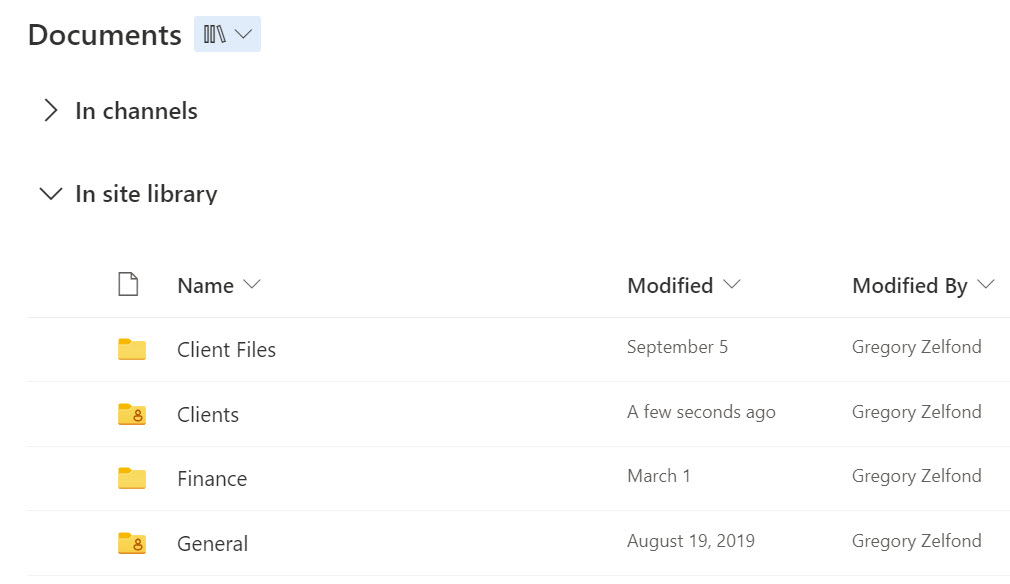
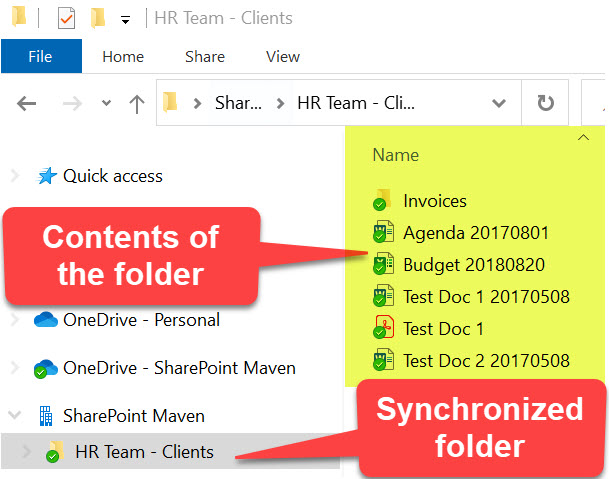
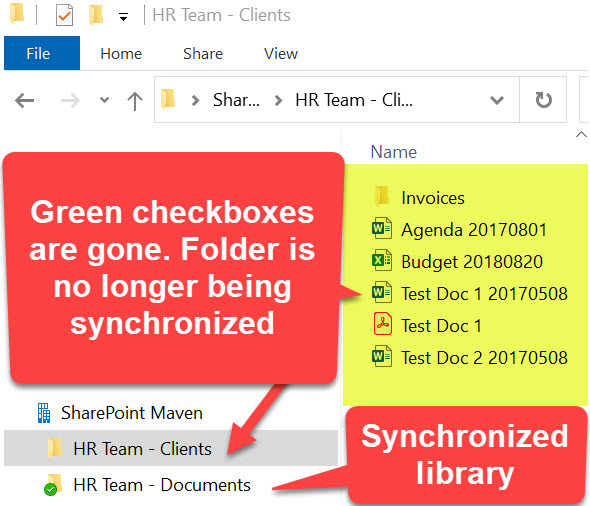
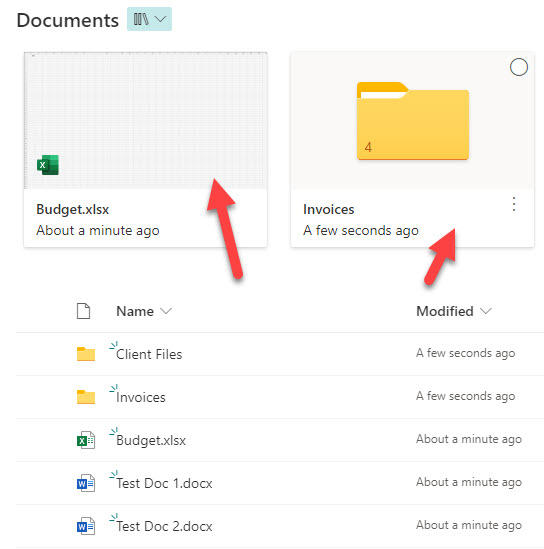
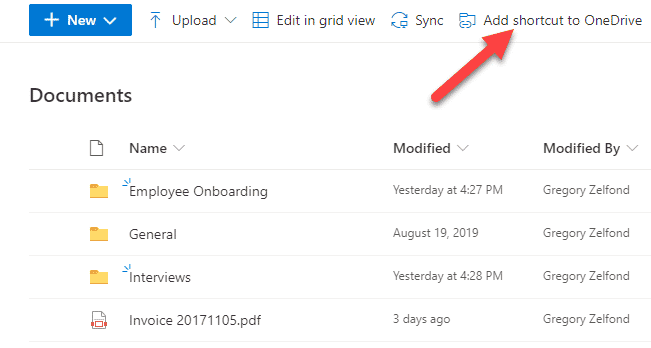
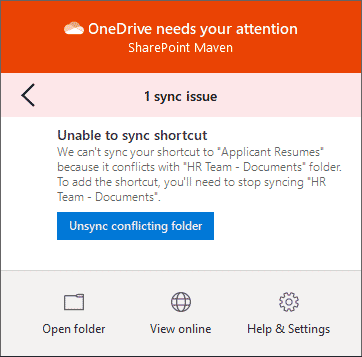
6. OneDrive Sync impact
Similar to the above, if your users are only after documents, they will most likely sync given libraries locally to Windows Explorer and will never visit your beautiful SharePoint site again. So whatever custom you have in terms of theme and look and feel, won’t matter much since users will not see it much.
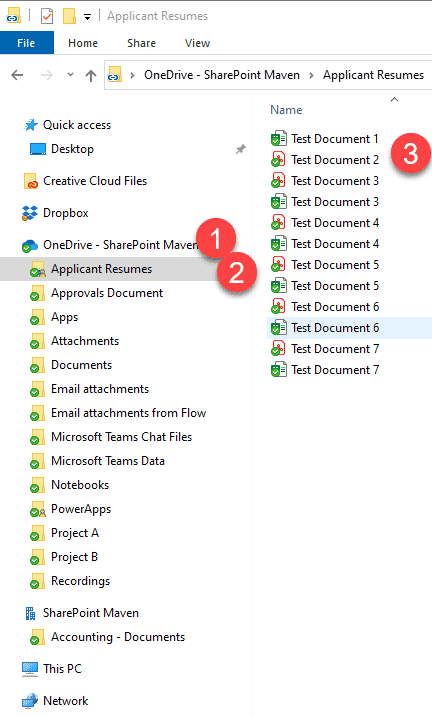
Example of SharePoint and OneDrive files and folders synchronized using OneDrive Sync Client
7. Mobile Applications
Another important factor to consider is the fact that some users might access SharePoint sites via the SharePoint mobile application. If you have custom development, it might not be compatible or even render on a mobile device, so definitely something else to consider.
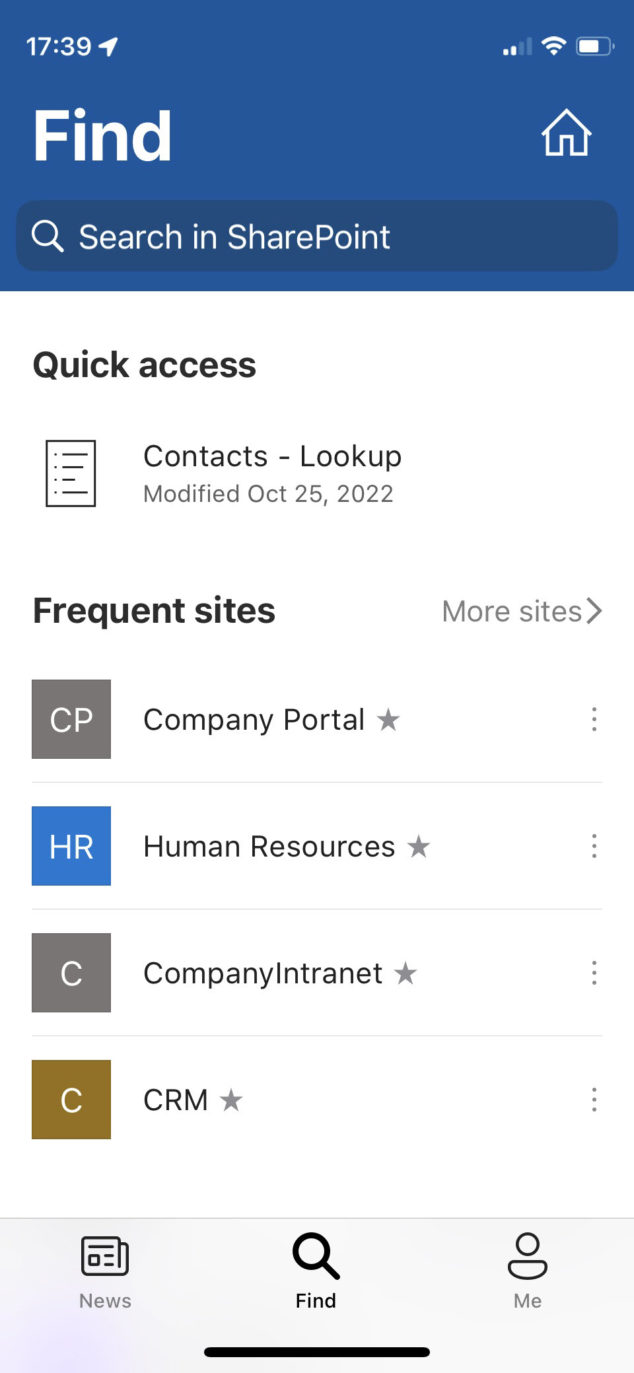
Example of a SharePoint Mobile Application which can’t be customized
8. SharePoint Online changes
One other significant thing you must take into account is the fact that you have no control over SharePoint Online changes happening literally ALL THE TIME. Previously, you would configure SharePoint on your servers and would not need to worry about changes until the next significant upgrade (i.e., going from SharePoint 2010 to SharePoint 2013). Not anymore. With SharePoint Online, you do not have control of the application – since it is in the cloud. Microsoft does. So you want to ensure that whatever customizations you make will not come into conflict with some new features or updates Microsoft rolls out.
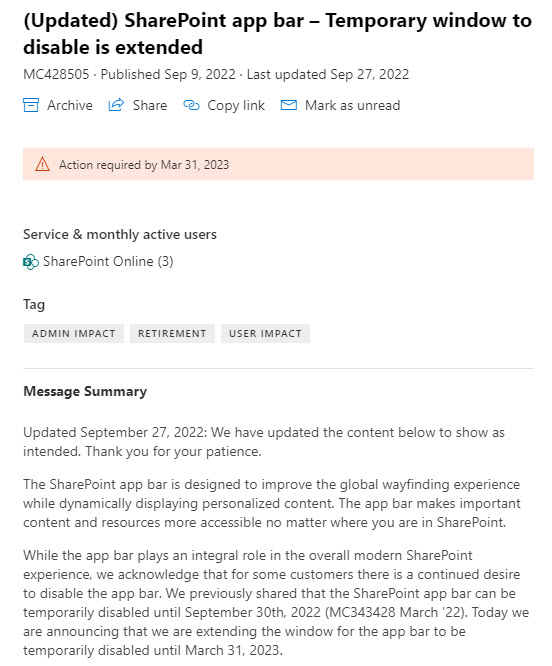
One noteworthy example was the roll-out of the SharePoint App Bar back in 2021. It worked seamlessly for organizations that stuck to an OOTB configuration. However, for some who did custom development, this turned into a nightmare. The SharePoint App bar, which always appears on the left side of all SharePoint sites, ran into conflicts with the custom themes and custom navigation built for certain custom themes. As a matter of fact, and as a result of the above, Microsoft allows for temporary disablement of the SharePoint App Bar.
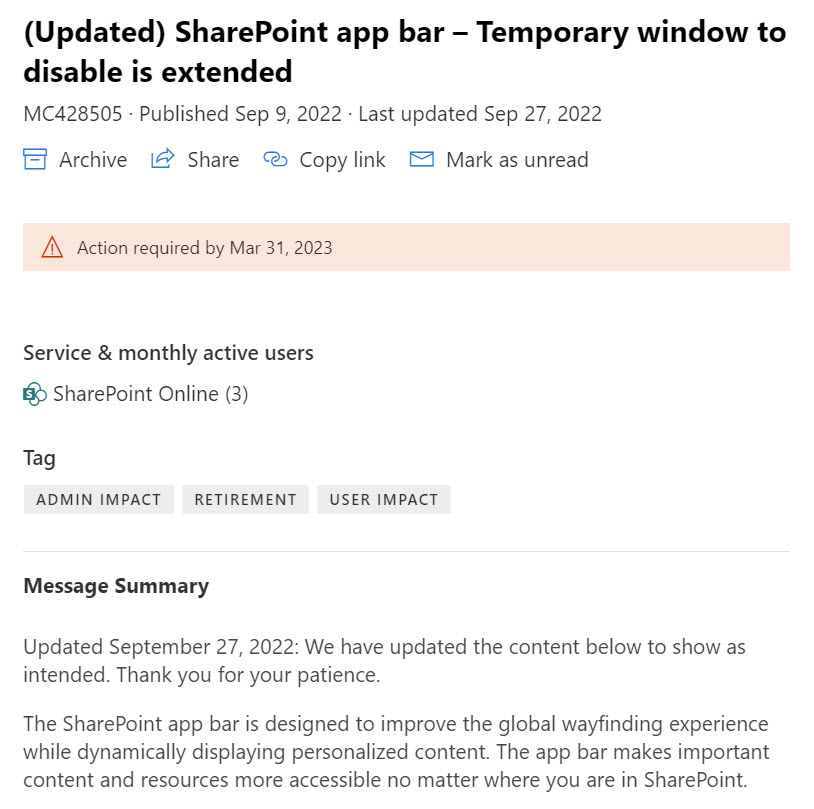
Message about SharePoint App Bar within the Microsoft 365 Message Center
9. Other applications within Microsoft 365
Finally, I want to mention that SharePoint is just one application in the sea of applications we now have in Microsoft 365. We also have OneDrive, Planner, Teams, Lists, and many others, and none of them allow for any branding or customizations beyond what you are getting out of the box. So it is yet another reason to stop making SharePoint not to look like SharePoint. I yet have to hear someone complain about the lack of branding capabilities within those applications.
The post Stop asking for SharePoint not to look like SharePoint appeared first on SharePoint Maven.