A while back, I published a post on the top 5 limitations we have in SharePoint Online. This turned out to be a pretty popular article of mine. The limits I focused on back then were primarily related to the document management capabilities of SharePoint. Microsoft Teams, a separate application within the Microsoft 365 ecosystem, has its limits. Microsoft does a good job summarizing them all in this article. Most of those limits, documented in the Microsoft article, are technical limits of the application. So what I thought I would do in this article today is summarize what are, in my opinion, the top 10 limitations we have in Microsoft Teams from the user/usability standpoint. Not so much tech limits of the application, but rather annoyances users might encounter by using the application. When appropriate, I also try to explain the reason for the limitation as well.
Depending on when you get to read this article, some limitations could be resolved or mitigated. So I am just documenting the limitations in Microsoft Teams that exist as of the date of this article. The limits below are not listed in any particular order; they appear in the order they came to my mind as I wrote this post.
Limit # 1: Number of channels
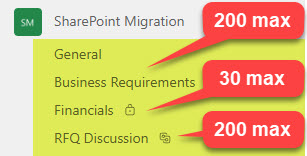
The first limit for users to be aware of is the number of channels one can create in a given Team. As of the writing of this post, here are the limits that exist:
- Max Number of Standard Channels: 200
- Max Number of Private Channels: 30
- Max Number of Shared Channels: 200
Now, in all honesty, in most use cases, you probably won’t exceed those limits. However, I have worked with several clients over the years who tried to use channels within a Team for small projects, legal matters, real estate properties, etc. The idea was that you would create one team and then 1 Standard Channel for each project, client, legal matter, or property. Since 200 is the most you can create in terms of standard channels (including the deleted ones), you could run out of channels to create rather quickly. So my clients were forced to create another team to get around the limit.
To learn more about the various types of channels, please check out this post. Also, if you are on the fence about whether to create a new team or channel, this article will help as well!
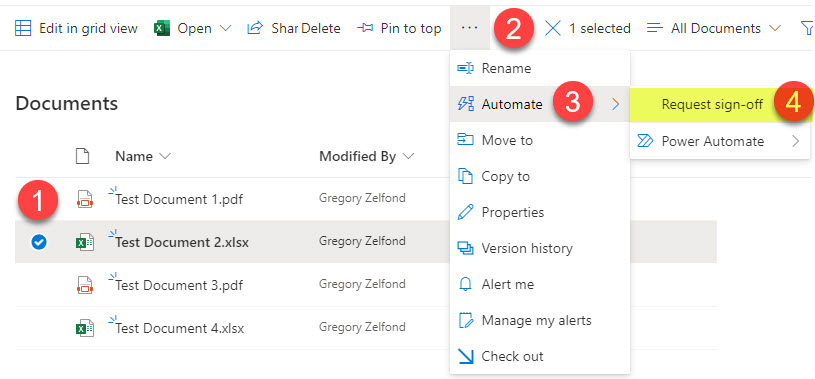
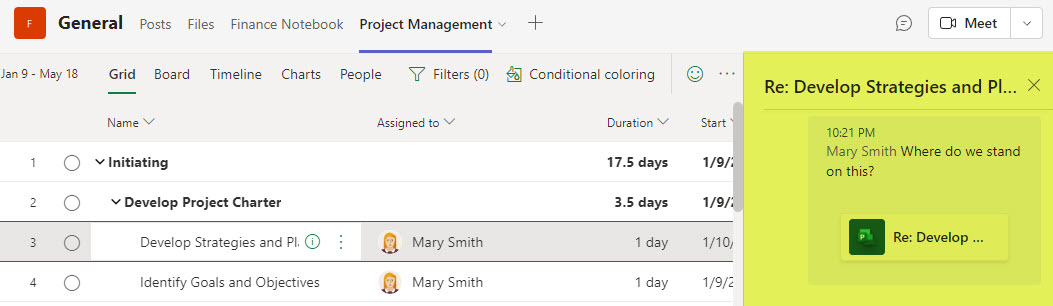
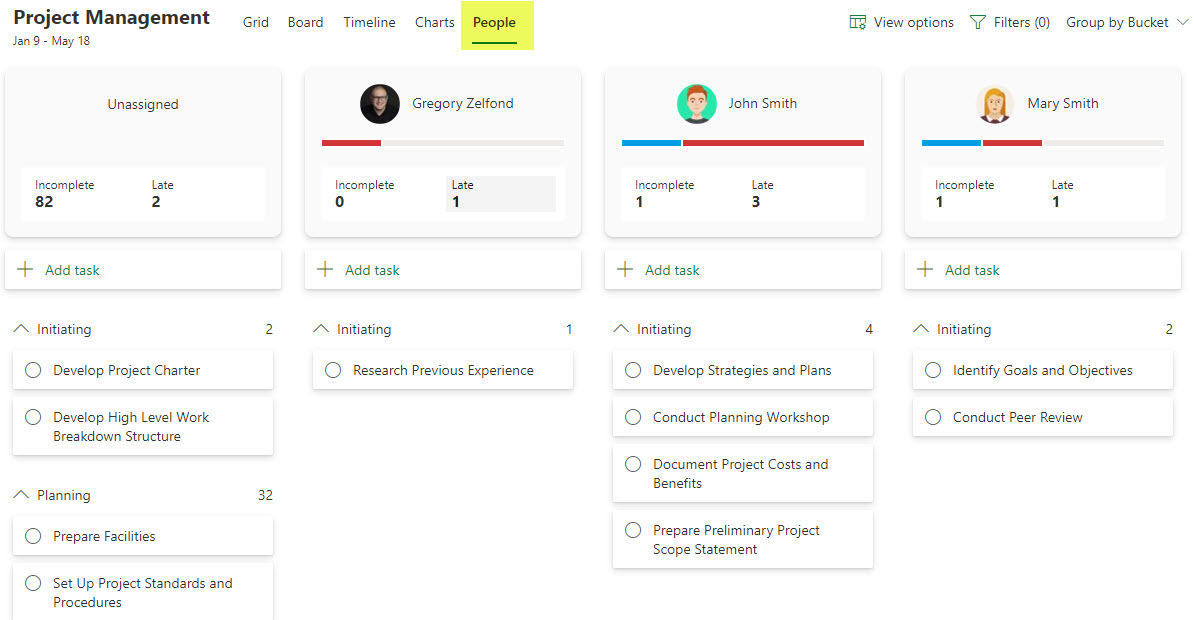
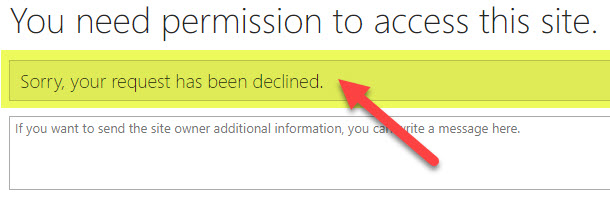
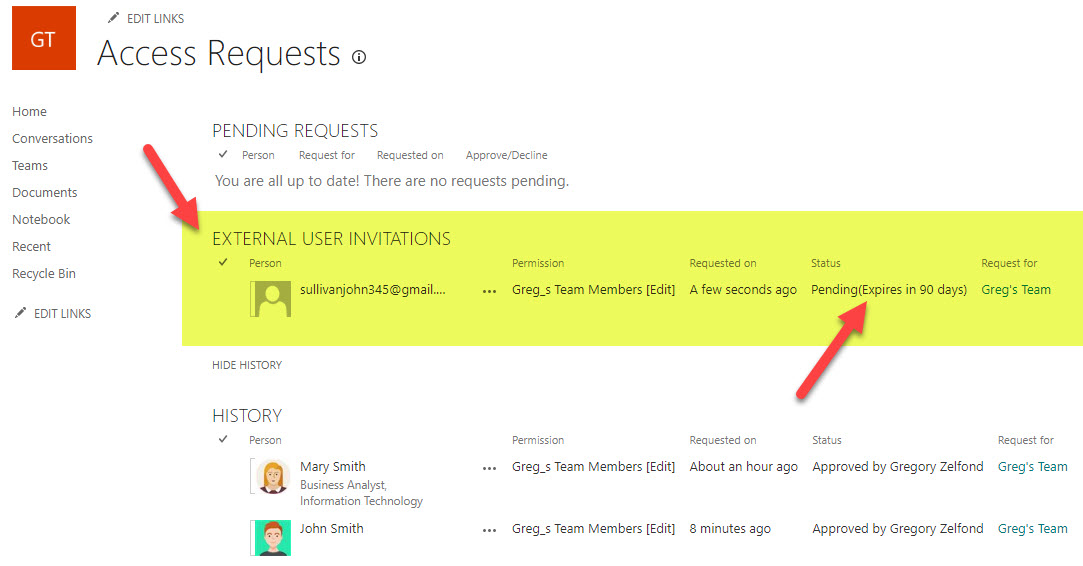
Limit # 2: Limit on available applications in private and shared channels
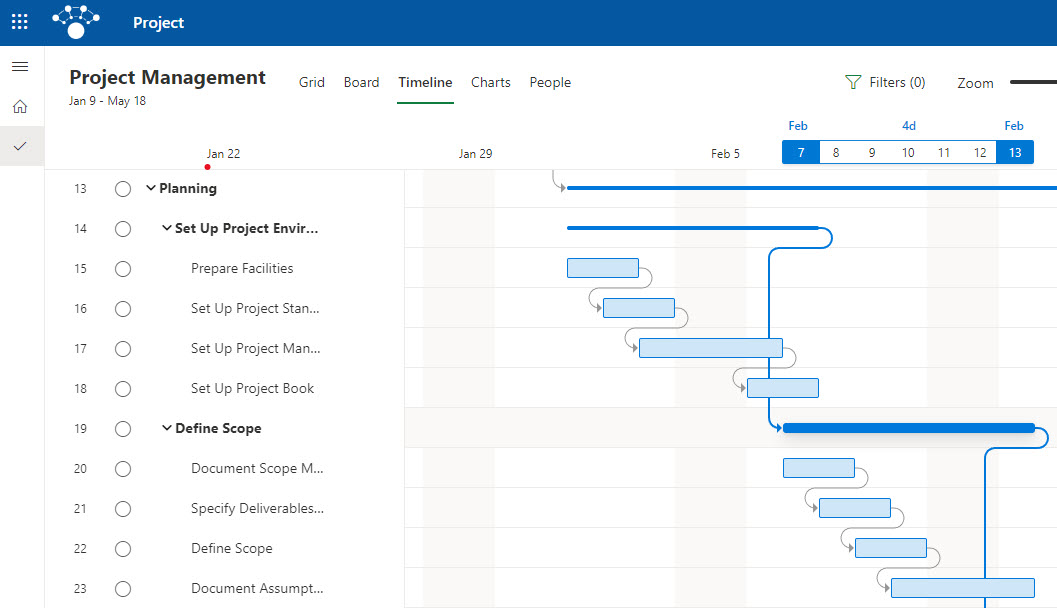
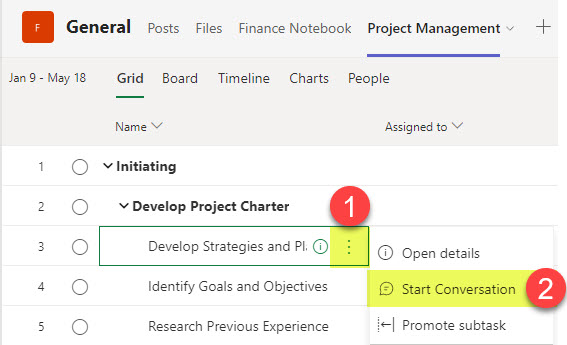
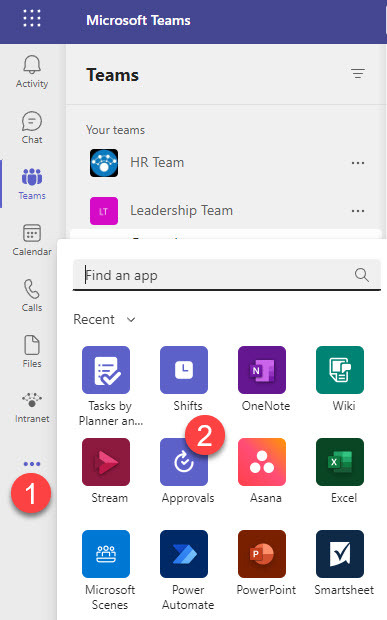
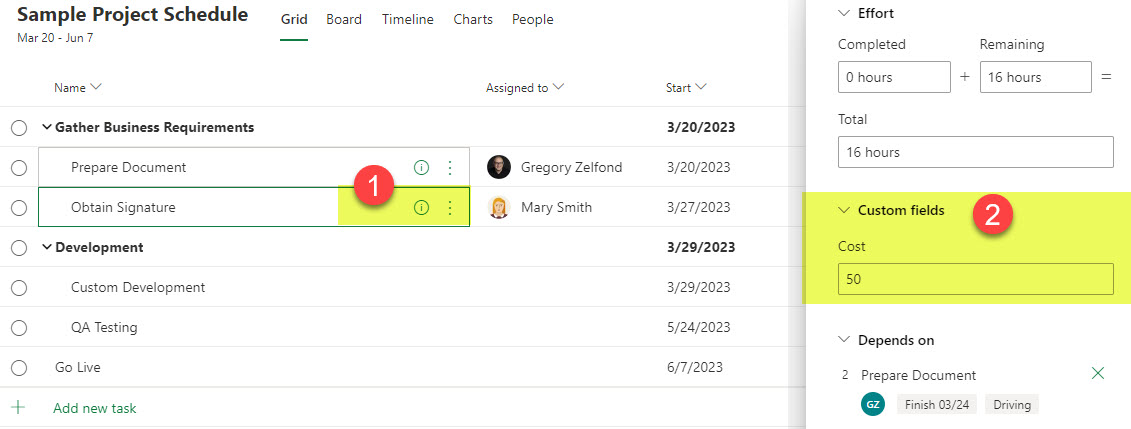
This limit is extremely annoying and has to deal with the overall architecture of Microsoft Teams and Microsoft 365 Groups. If you use Private and Shared Channels within a Team, you probably noticed that some applications are not available. For example, say, you are in a private channel and are trying to add Planner App as a tab within the channel. Too bad, you won’t be able to. Same with Forms App or Channel Calendar app. How come?
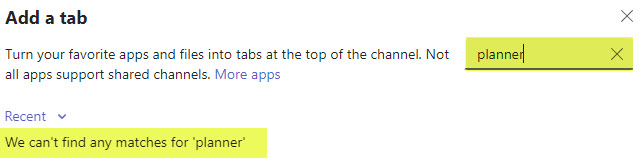
Example of Planner App missing in Private or Shared Channel (when trying to add as a tab)
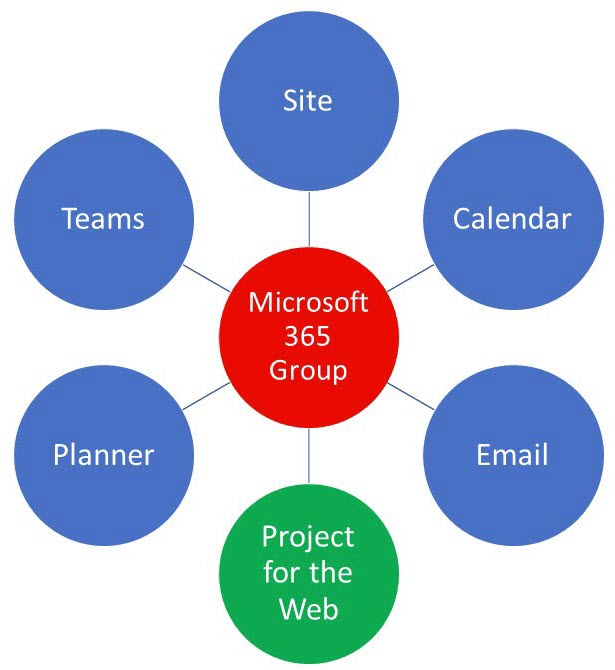
As mentioned above, this has to do with the overall architecture of Microsoft Teams. When you create a new Team in Teams, behind the scenes, it creates a Microsoft 365 Group, which is essentially a membership/security group. That group allows you to control access to the various applications available to the user who is part of the Microsoft 365 Group.
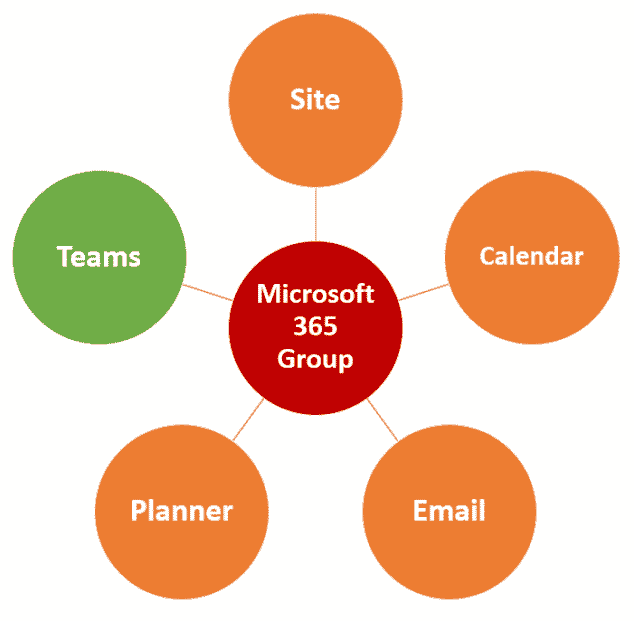
For example, if I create a Team and invite Mary and John into it, all 3 of us will also have access to the associated SharePoint Site, all Plans in Planner that are part of the Group, the Group Calendar in Outlook, Forms, and so on.
However, when you create either a Private or Shared Channel, you create a workspace for a subset of users from the Team. So using the above example, if I create a Private Channel and only invite Mary to it, only Mary and I will have access to the Channel/conversations + a separate SharePoint site that is created as a result.
However, while there is a separate SharePoint site created to store documents that are private to that Private channel, there is no separate “secure” Plan created in Planner. Security to all the plans in Planner is controlled by the Microsoft 365 Group, which, contains myself, John, and Mary. Same with the Group Outlook calendar. You only get one that the whole group shares. And Forms are exact same way, too – all forms that are part of a Microsoft 365 Group can be accessed by the whole group.
So that is why when you try to add a plan from Planner as a tab in a Private channel – you can’t do that. In theory, you could add a plan as a tab, but it will be the plan that is accessible by the whole team and not a subset of users from the Private Channel. So to avoid security issues and not to mislead the Private Channel members that their Private Channel Plan is private to them only, Microsoft prevents you from adding those group-related apps to Private and Shared Channels.
I honestly do not know how Microsoft will resolve this dilemma, unless Plans and Calendars and Forms break free from the Microsoft 365 Group and will have security/permissions of their own somehow.
Limit # 3: Impossible to chat with attendees while sharing screen
Alright, this limitation has baffled me from the start of Microsoft Teams. And in all honesty – this is why I prefer to use Zoom for my training and webinars. It comes down to one simple and @#$% annoyance – you cannot easily chat with attendees while you are sharing your screen. With Zoom, I can still see small videos of my attendees and can easily chat as well. Not with Teams. Yes, I know, I can purchase a second monitor or join Teams from a second device like iPad or phone just to see the chats, but I am Jewish, and a bit frugal about how I spend my money. 😀
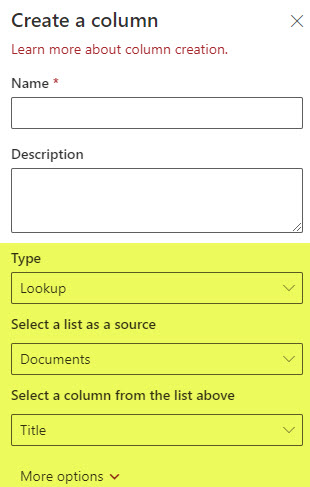
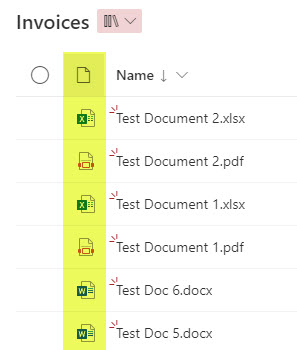
Limit # 4: Metadata usage in Teams
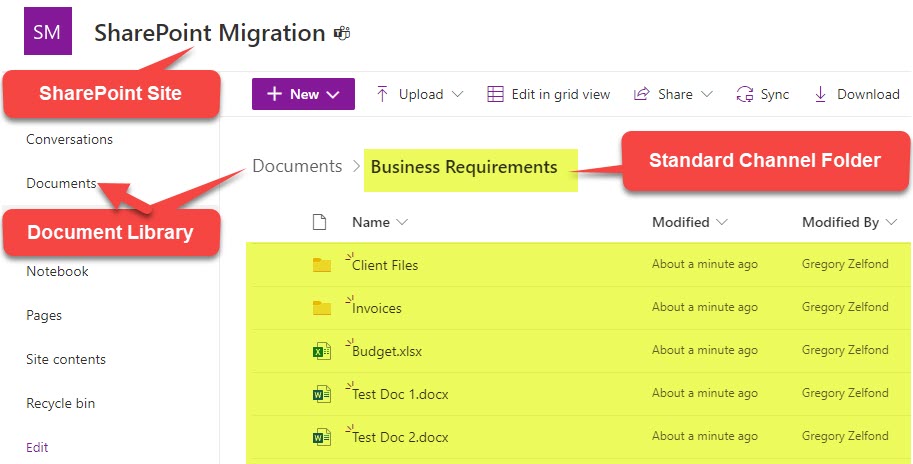
Being a huge fan of metadata, this was my complaint from the release of Teams back in 2017. Metadata does not play well with Teams. While the improvements have been made, and we can now tag and filter files from a Microsoft Teams interface, the fact that for every standard channel, you get a folder – forces the users back into folder mentality.
For this reason, I always recommend creating a separate document library on a Team-connected SharePoint site, so it can be free of channel folders.
Limit # 5: Recording Expiration Limit
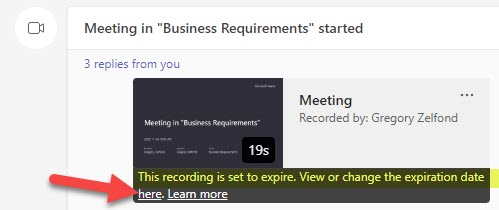
Another important limitation users must be aware of is how long the meeting recording is kept. With the recent switch from Stream Classic to New Stream on SharePoint, all the meeting recordings are now saved to SharePoint or OneDrive. As such, the video files count against the limit towards the overall storage limits within your tenant. And since videos tend to take much more space than images or MS Office files and PDFs, they are only kept for a certain number of days before being permanently deleted. By default, it keeps the recordings for 120 days. True, most of the recordings will probably never be watched again after a certain number of days, but there might be a case here or there when you need to watch that staff meeting or training from last year.
There are ways for both regular users and Teams Administrators to increase the limits. I explained how to achieve it in this article.
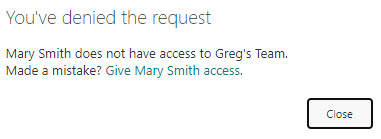
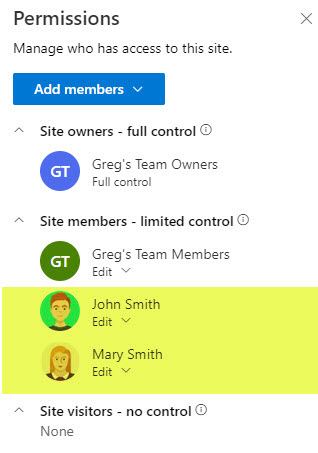
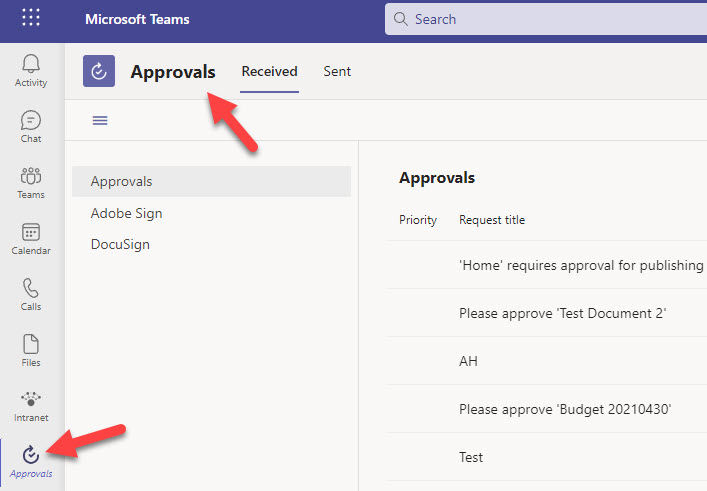
Limit # 6: Owners can be left out of a Private Channel
Here is another limit I kind of hate. If you are a Team Owner, you might end up in a situation where a user creates a private channel and does not invite you (the Team Owner!!!) into it. It is almost like a secret room in your own house. Now, I understand there might be valid scenarios for this in a project, but if I am, say, a Project Manager and a Team Owner and happen to be a control freak, and then discover the hidden Private Channels in my own Team, I am not part of, I might not like it. 😀
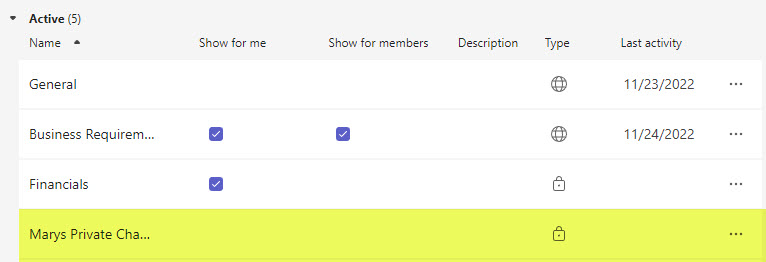
Example of a Private Channel I(the Team Owner) am not part of

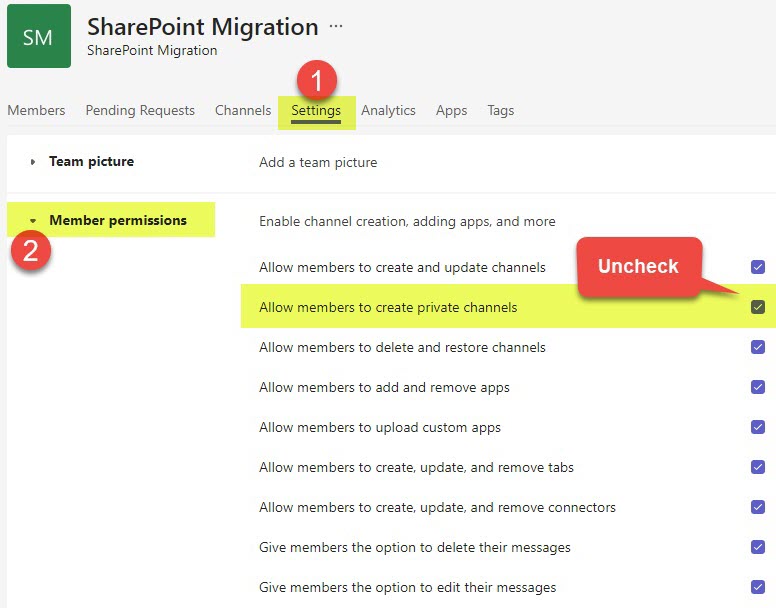
By the way, if you want to prevent the above scenario, as a Team Owner, you can disable the creation of Private Channels on your Team (by regular members). Check out this post for instructions.
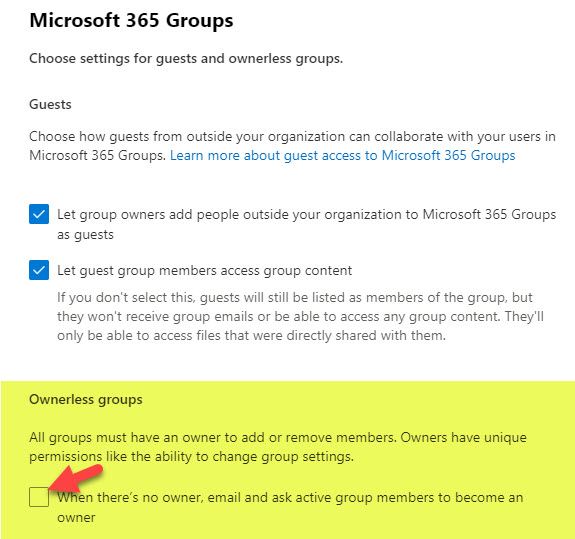
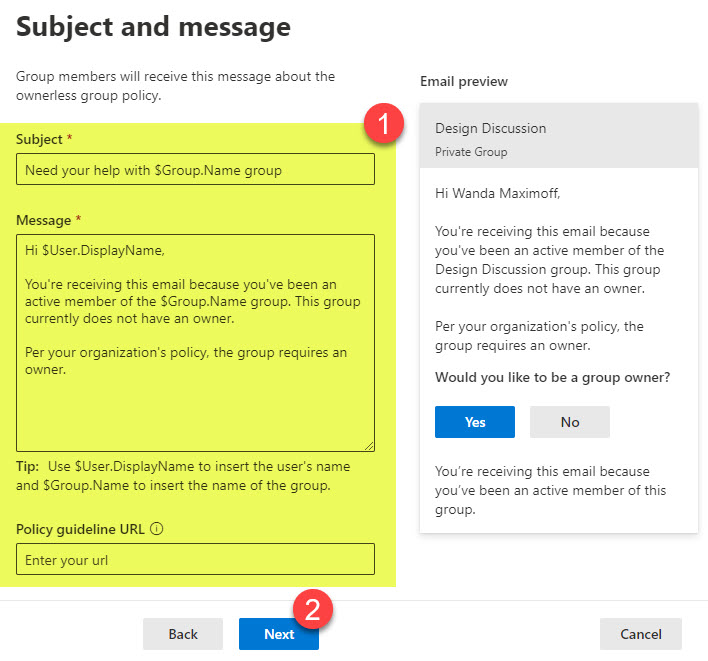
Limit # 7: Ownerless teams
Another limitation is that you might end up in a situation where you have a Team/Group that s left without the Owners. This occurs when the Team Owner leaves the organization, and IT disables/removes their account. Luckily, there is a way to enable a workflow/process within the Admin Center to prevent such occurrences from happening again. I documented the steps in this post.
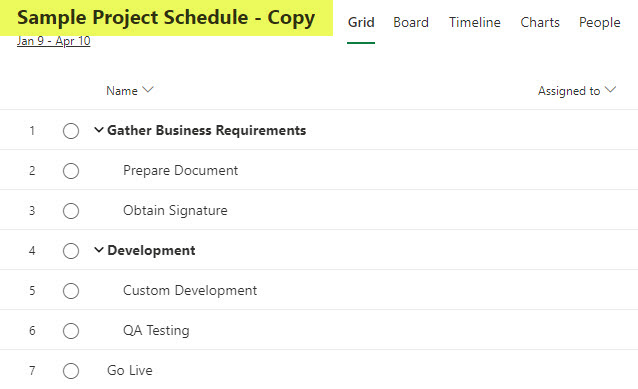
Limit # 8: When copying a team, private and shared channels are not copied
I guess this is more of a “by design” limitation, but something that those looking to replicate teams need to know and understand. The ability to create a team from another team is awesome, since it allows you to easily copy Teams channels and tabs and replicate it for another project, for example. The problem is that private and shared channels are not copied – just the Standard channels and channel folders. So you would need to create standard and private channels manually.

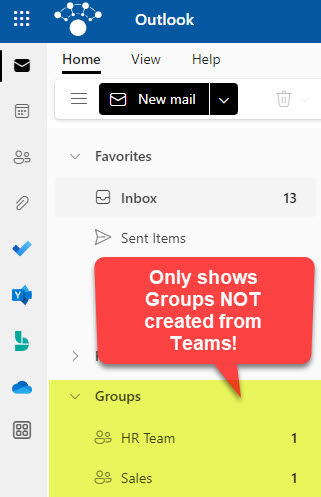
Limit # 9: Hidden Group Calendar and a Distribution list
How you create your Team matters! This is yet another unfortunate limitation that drives many users and me crazy. As described earlier, the Teams app is part of a Microsoft 365 Group and is connected to a Team Site, Group Outlook Calendar, Group Outlook Distribution list, and Planner. However, if you create a Team from Teams and then try to access the group calendar, you will be out of luck. Same with the distribution list. The truth of the matter is that they do exist but are hidden from you. This was due to a change made by Microsoft some time ago. This is because with so many Teams created by users, you might not want to clutter their Outlook interface with extra groups created. Not to mention that if users see the same group in Outlook, they might start using email instead of Teams chat. However, there are use cases when you do want to see that group calendar in Outlook or perhaps send an email to all members via Outlook.
The workaround for this would be to create a Team Site first from SharePoint and then connect a Team to it afterward. When you do it in that order, since the Microsoft 365 group is not created via Teams, you will get the Group Calendar in Outlook that is not hidden.
Limit # 10: No easy way to move channels between Teams
When we moved from subsite to Flat Information Architecture in SharePoint, this was a time of joy and relief. No longer we had subsites stuck to a given site collection – we could easily take a site and associate it with a different Hub in a matter of seconds. However, with the evolution of Teams and channels – it seems like we are back to the rigid architecture, as was the case with SharePoint subsites.
While we can easily move files and folders between two SharePoint sites (channel folders), we cannot move channels themselves (that contain chats) between Teams. Yeah, I know what you are going to say – this is probably by design, but I thought I would still mention this as somewhat of a limitation. I understand why Private Channels cannot be moved, but I did get requests from clients in the past on the ability to move standard and shared channels between Teams. Possible Use cases for this involve:
- Unique projects merge into a bigger project
- Departments merge to form one larger department team
- Two separate Teams were created by accident and need to be merged into a single entity
- Changes in the Org Chart might prompt some of the channel mergers
I guess I understand the technical complexity behind this limitation (unique sites/folders, apps), but at the moment, the merge is only possible with 3rd party migration tools.
The post Top 10 limitations in Microsoft Teams appeared first on SharePoint Maven.